Shop Popular Departments
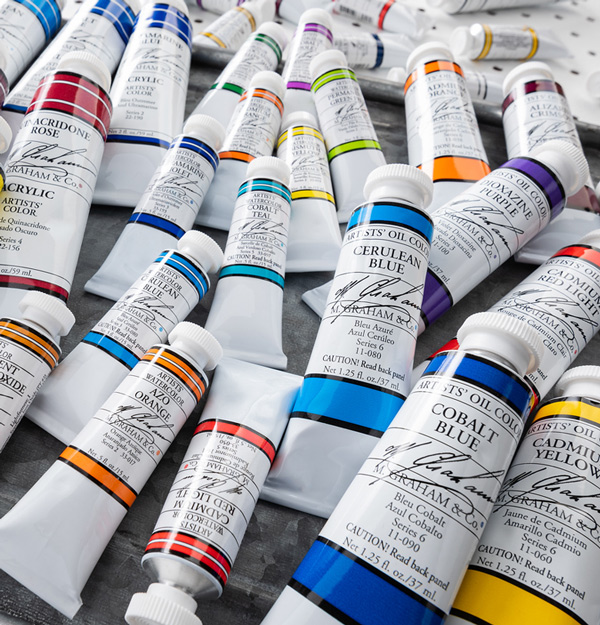
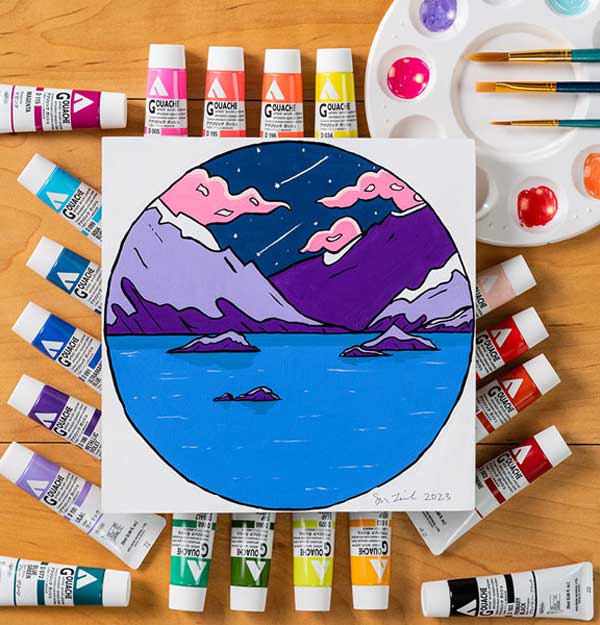
Art Supplies
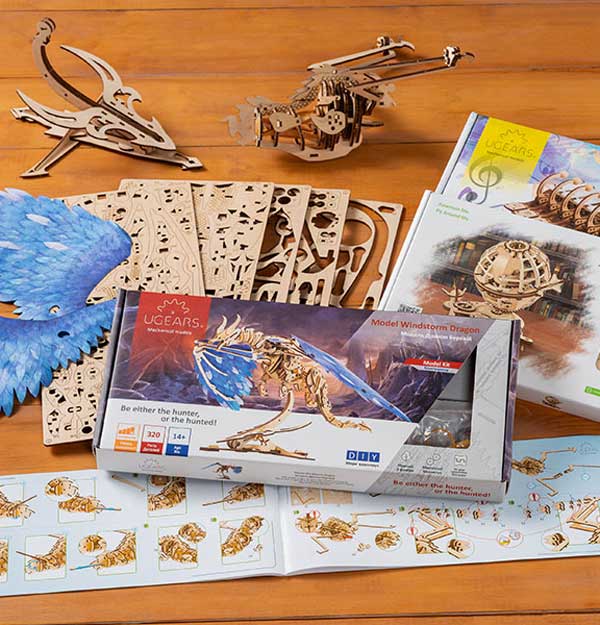
Puzzles & Games

PaperCrafts
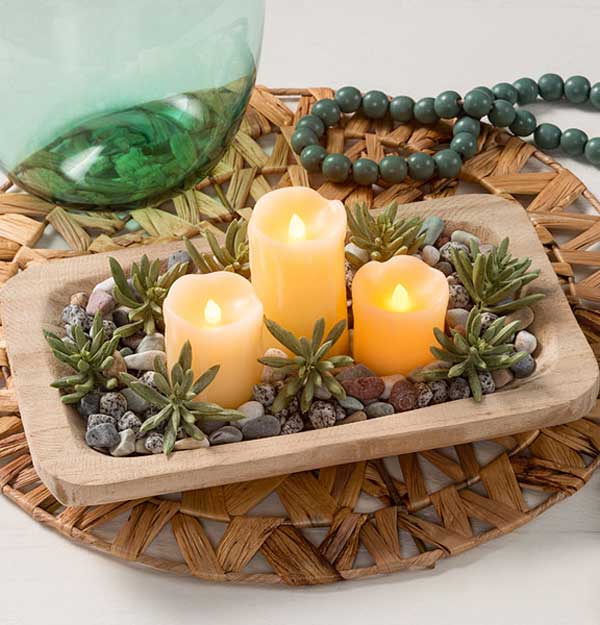
Craft & Hobby
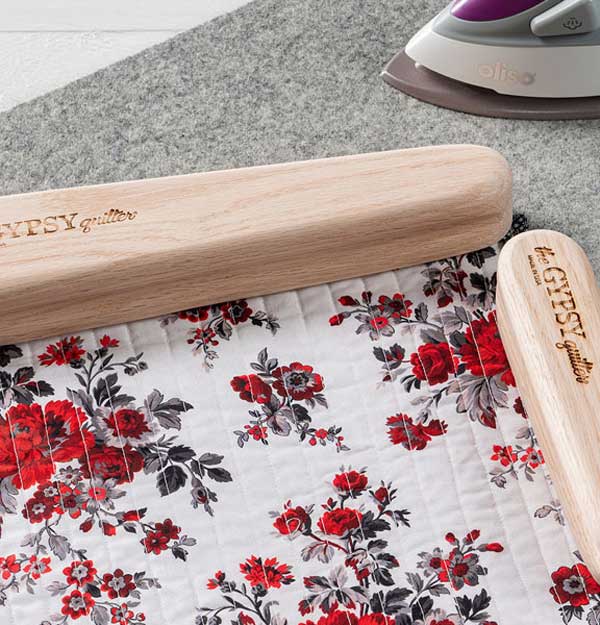
Quilting & Fabrics
Yarn & Needlework
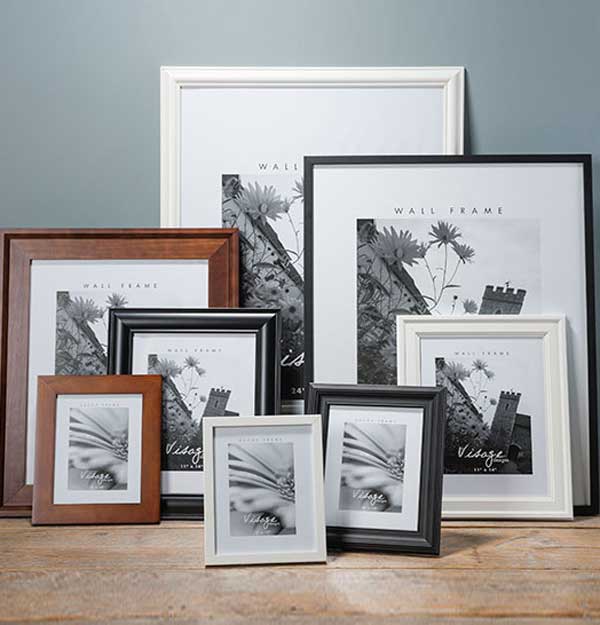
Framing
Check Out Our Create Blog


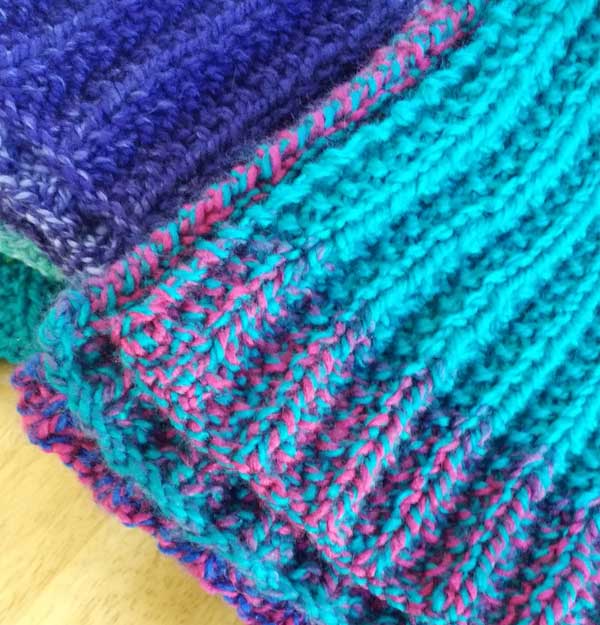
Have you heard of knitting or crocheting a Temperature Blanket? [...]

Temperature Blankets have been a fun trend. When making a [...]


Combining Gilding Flakes with clay can give you such stunning [...]

These marbled jewelry dishes are pretty, functional, and easy to [...]